Kyle Thomas

The Website of Kyle Thomas (KyleWith)

  • Blog
  • With Media
  • Yellowknife Online
  • Bush Order Provisions Ltd.

Oct 12 2011

Shoes take the spotlight

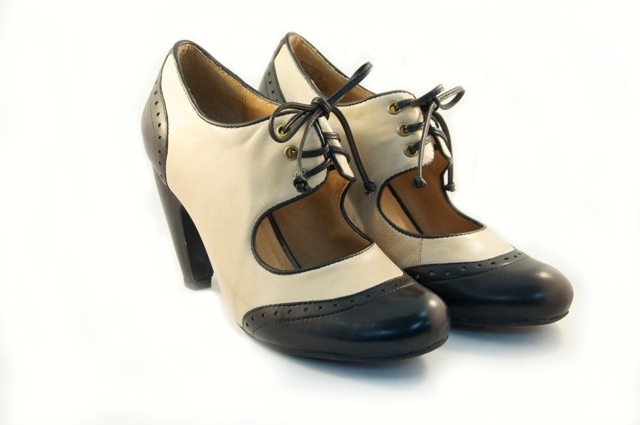
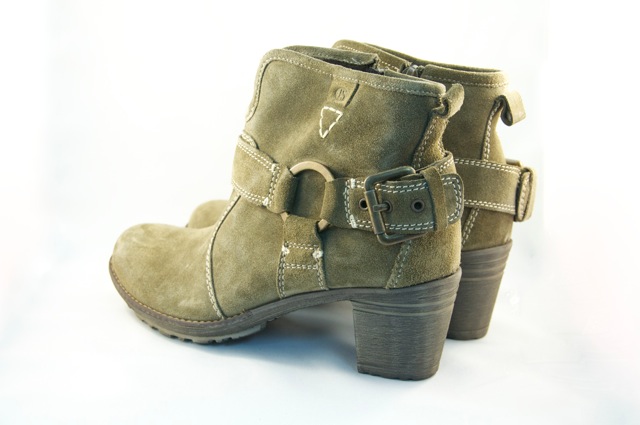
Hello Shoes, yes shoes. As we all know I got myself a nice little lightbox to try to improve my food photography. I slowly am but I also got the opportunity to try out some product photography thanks to friend Brent Hodson.  The objects of this shoot was of course shoes. They are from a local shoe store and for a print ad that will be running in the Northeast News. Yes, I am a little excited that some of my very own photos will be debuting in a print ad.

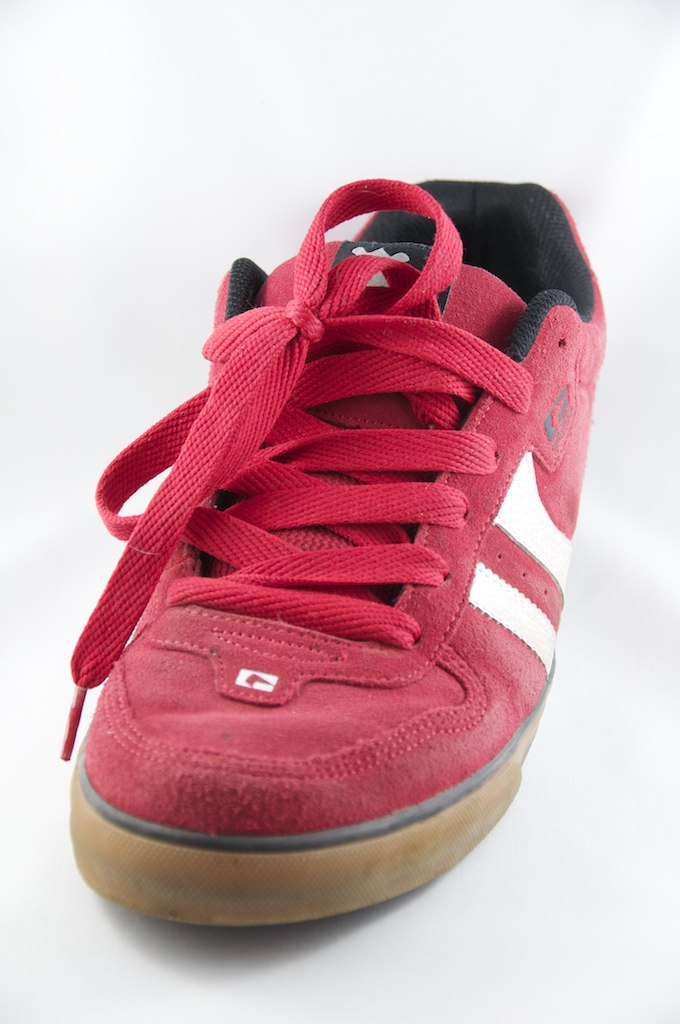
I found trying to get the same results for every shoes was more difficult than anticipated. Shoes were different sizes, and we placed them differently and as a result the light created different effects. My lightbox was a little to small for this job as you can see by some of the imperfections in the image below. These imperfections can be managed in Photoshop, which I used for the most part, but I see I have missed some spots. Thankfully they were cropped for the ad and minor imperfections were taken out.

DSC 0399DSC 0387Show Project 12DSC 0408Show Project 5

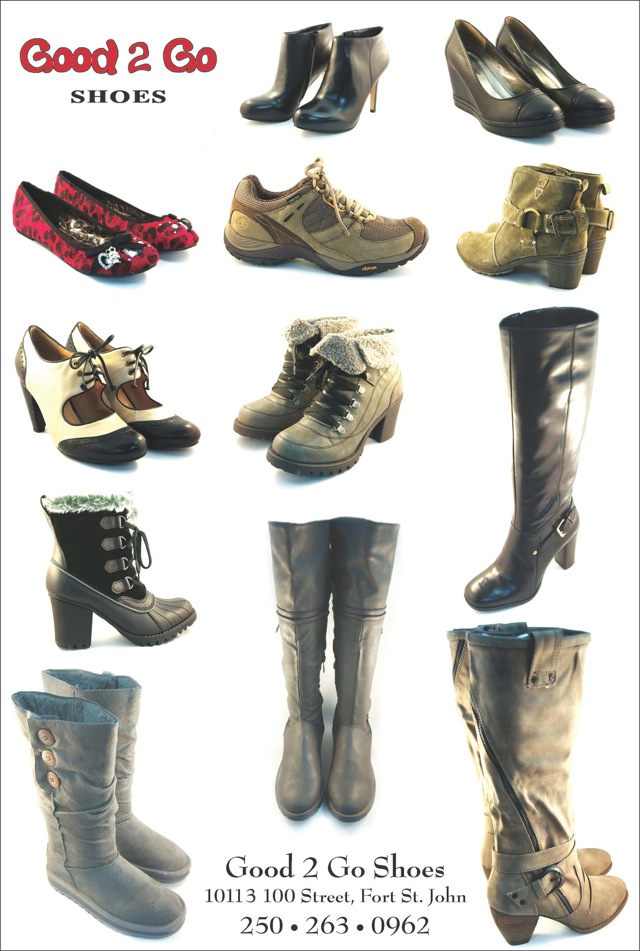
This was not the final ad, but you can get an idea as to how it was laid out. We shot 12 pairs of shoes in all.

G2G  Shoes

This was a fun shoot, because it really challenged me to try and get the same result over and over again, which proved to be difficult. I certainly want to do more of this.

Written by kylewith · Categorized: PhotoBlog · Tagged: lightbox, photography, product, shoes

Oct 02 2011

More Lightbox Tests with new Lights

One again I’m back with using a lightbox. Ultimate goal will be for food, but as I have no food at the moment, a mug and shoe will do.

New lights, new setup for the lightbox. This time no above lighting, just two side lights.

Shannon Mug - Lightbox TestGlobe Shoe - Lightbox Test

What’cha think?


Written by kylewith · Categorized: PhotoBlog · Tagged: lightbox, photography

Sep 26 2011

DIY Photography Lightbox

This was a spur of the moment idea to make a lightbox. A lightbox in photography land is a box that allows light in to illuminate the object that you are shooting. For me I am thinking this might be something to use for my food photography. This post will explain how I built it and how the trail went.

What you will need:

  • A box (medium in size)
  • 4 sheets of tracing paper or wax paper
  • Packing take
  • Scotch tape
  • Exacto knife
The first thing you will want to do once you round-up all you supplies and tools is trace out the size of the tracing paper on the sides of the box you will be cutting. You will want to cut holes in three side and the bottom of the box.
Once you have traced the size of the paper on the box draw a smaller square on all sides of the box you will be cutting that is roughly 1″ smaller that the tracing paper square. You will want the tracing paper to overlap the holes in the box so you can tape them down.
The next thing I did was tape the hell out of the box. You will be cutting four holes in the box making it very unstable therefore you need to make the structure as strong as possible. Using the packing tape I covered this thing, every corner, every side and made sure the bottom would stay together once cut.
Of course once you have done this you will want to start cutting the box on all the sides you want to create holes, along the smaller square you have made. I recommend going lightly as you don’t want to risk the structure of the box.
When you finish up cutting the holes you should check to see if any areas of the box need to be re-taped. The bottom of the box may need some tape to keep together the two layers of the bottom. Then start on any side and tack down the tracing paper over the holes. I used the scotch tape to tack each corner and then will use the packing tape once satisfied. Make sure you keep the tracing paper as tight as possible to avoid any wrinkles.
The final thing you’ll want to add is a large white piece of paper that falls from the top of the box to the bottom front creating a white background. I used poster paper, but need something bigger.
As you can see from one fo the photos above I used three lights two on the side and one on the top. This was tricky as the one on the top was to powerful and didn’t display the light properly. Below as some of the trials I took using my very first Shannon Butler Mug.
The one above was actually also shot with my flash and the three lights. As you can see the flash over powers all the lights and creates the harsh shadow.
This shot above was with only the three lights. As two of the lights are incandescent it  creates the yellowy look, which I need to learn to correct with White Balance or get fluorescent lights.
The last two shots were shot with only the fluorescent shining down through the top hole in the box. The first one (of the two) is a little harsh and was still on Auto White Balance. The second one (last photo) was with some White Balance correcting which really helped.

Things I need to improve on

I need to get three of the same lamps for this box, fluorescent one. I also need to read up on some more lighting theory and how to properly shoot using a lightbox. Understanding White Balance and my flash are also things to do.

Conclusion

Building the box is easy and can be done with household items we all probably have. The lighting and understanding that is the tricky part. If you try this DIY Photography Lightbox I’d love if you shared a link below to your build to see how it turned out.

Written by kylewith · Categorized: PhotoBlog · Tagged: diy, lightbox, lighting, photography, photos, project

Copyright © 2025 · Altitude Pro Theme on Genesis Framework · WordPress · Log in