Kyle Thomas

The Website of Kyle Thomas (KyleWith)

  • Blog
  • With Media
  • Yellowknife Online
  • Bush Order Provisions Ltd.

Aug 05 2011

How to make homemade pesto, my way

Don’t have a food processor, well that is alright by me, because I didn’t need one. After finding a recipe online for an Italian Grilled Cheese, which consisted of making your own pesto, I was determined to do just that. Over the week I slowly gathered the ingredients the blog post told me to get.

This is what I got:

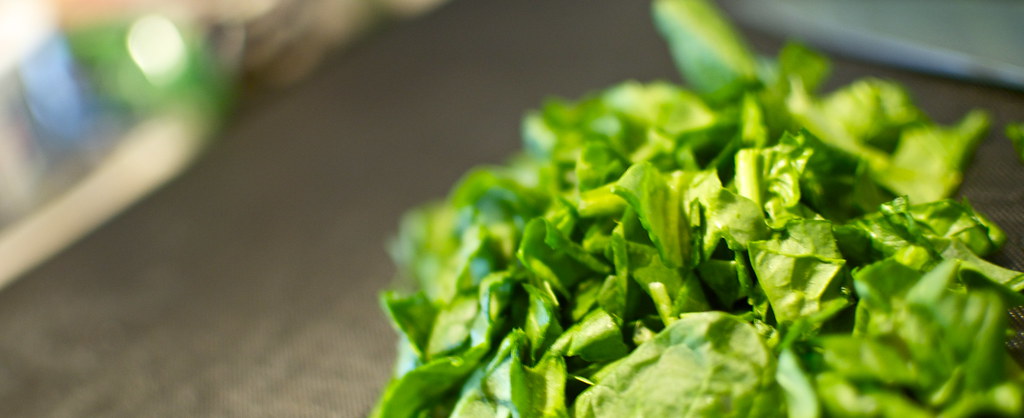
  • 3/4 Cup Basil Leaves
  • 1/4 Cup Oregano Leaves
  • 2-3 tablespoons Olive Oil
  • 1/4 Cup Walnuts
  • 1 clove of Garlic
  • 1/4 teaspoon salt
  • 1/8 teaspoon pepper

Finally I decided I am going to make this pesto and it is going to be good, then I hit the speed bump. Recipe calls for putting all this stuff in the food processor and blending it. That was it, only problem being, I didn’t have a food processor and I didn’t want to go by one. Come to think of it though, there are other things i could use one for, but I digress. I wasn’t going to give up though, I Googled around to see if anyone had written about making pesto without a processor, sure enough I found someone who had. It isn’t overly complicated to figure out how to do, but I wanted to confirm.

Homemade Pesto 
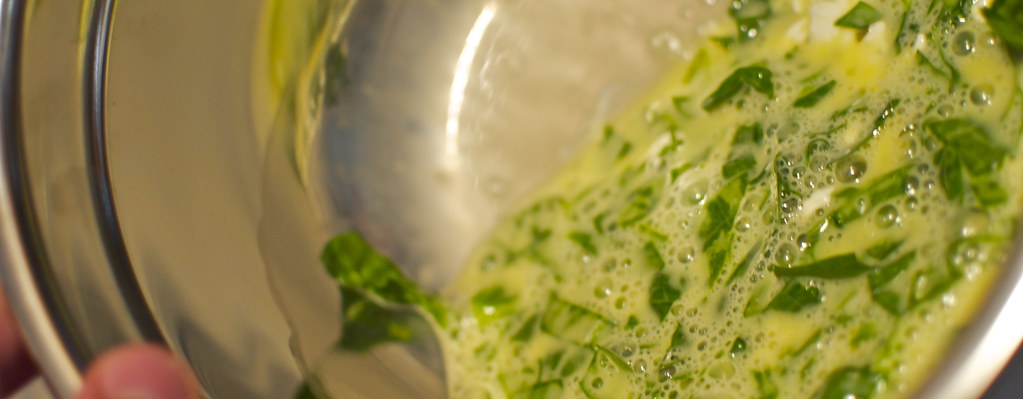
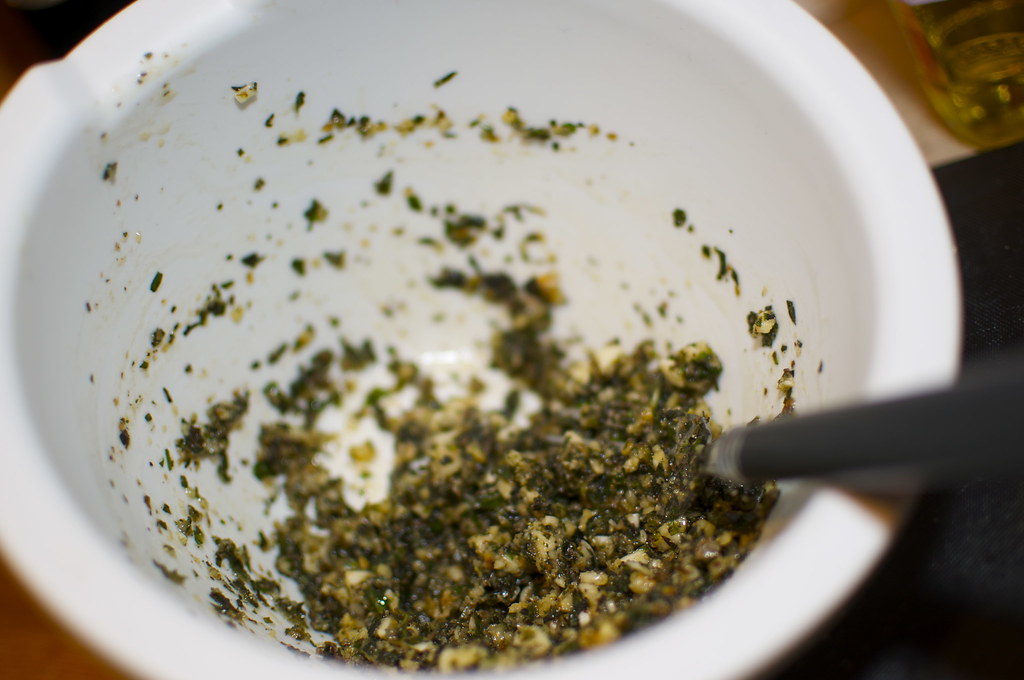
What I had to do was chop everything, finely. As finely as I possible could and as I did that mix it as much as I could in a bowl. I rotated through ingredients to make sure the pesto was being mixed properly, or it gave me the reinsurance it was. While mixing in the ingredients I was also adding in parts of the olive oil to moisten up the mix. Finally once all the ingredients were in the small bowl I once again beat the living crap out of it to make sure it was mixed and also crushed up enough.

At this point I proceeded to taste test it. It actually turned out pretty good. I did find though that it was rather garlicy, as well as salty. I would cut back on both of those next time.

Homemade Pesto
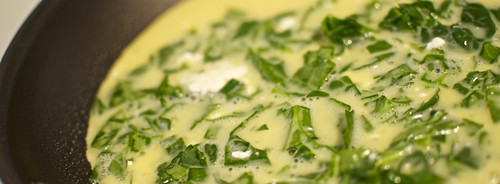
I wasn’t done yet though. I smeared the pesto on a slice of bread with thick sliced of mozzarella cheese and baby tomatoes and threw it all in a frying pan to grill. By the way, if you also happen to have a Jamie Oliver fry pan like I do, be warned when you heat them up, they retain heat very well. I nearly burnt one side of my sandwich.

Homemade Pesto
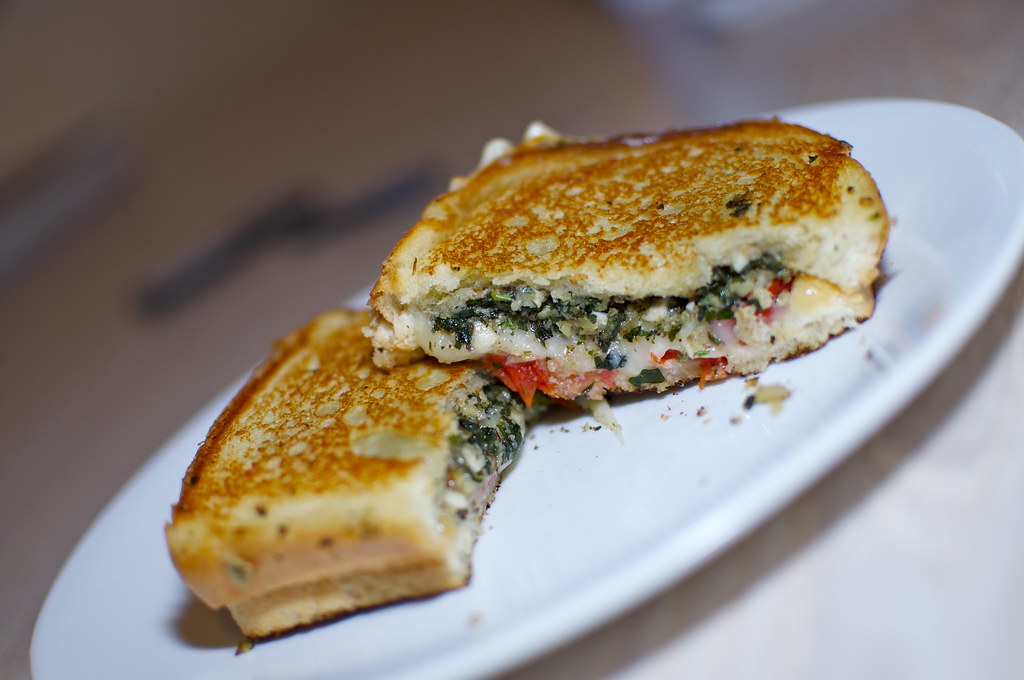
Of course then the only other thing to do is enjoy it… or clean up the mess you made.

Written by kylewith · Categorized: Food · Tagged: Food, grilled cheese, homemade, pesto

Jul 26 2011

July was a bad month for Food

I think I know enough money people out there, and my father, who will tell me I should account for my spending a little better, but for a while there I was doing really well. Until July.

I was just reviewing my July Visa statement, which I have no problem paying off and I like using my Visa for everything, so I can get the point, but I noticed a lot was spent on food. Sure in the back of my head I knew this as well, but there is a sad realization when I see if on paper – or TD’s mobile app – that I spent more than I normally do.

Normally I would chalk this up to me eating out more, which I have been. With it being summer, I’ve wanted to get out more, but it turns out that means get out of my house and go into a dark pub for a meal. Oddly though that only makes up roughly half of what I have spent on meals, I don’t no exact numbers, the other half is from going to the grocery store and stocking up on food.

Since coming back from Yellowknife in June I have wanted to get more into seeing – see my Food Category – but I needed to get the initials first. You know, like veggies, and meats, etc. Things that I had to buy lots of and would use overtime.

I’m not going to do this though for August, it will be a cheaper month with less eating out and more using what I have in the house. If you have recipe ideas, please send them my way!

Written by kylewith · Categorized: Journal · Tagged: Food, money, planning

Jul 25 2011

It is Meat for $10! PriceSmart Deal

A friend of mine informed me that PriceSmart was having $10 deals on different type of meats, but I didn’t think I wanted to get any at the time, until I went there myself.  I also just want to give him credit becuase it was him who told me about them.

Anyways, I did go to the store last night and ended up getting steaks, ground beef and chicken.

Four steaks, packages in two.

2kg of ground beef for, you guessed it, $10.

5 pieces of Chicken (marinated or not)

Of course I just froze most of it, but not before packing stuff into individual packaging. Go out and get some for yourself.

Written by kylewith · Categorized: Food, Fort St John · Tagged: Food, groceries, money, PriceSmart

Jul 10 2011

Spinach and Cream Cheese Omelette

Somehow I must have forgotten that I had already blogged about this spinach omelette I had made, but nonetheless I have done it again. This time though I taken more care in doing. I really wanted to try to perfect this and I believe I’ve done that.

What I used:

  • 3 Eggs
  • 1/2 Cup of Milk
  • Handful of Baby Spinach
  • Spoonful of Cream Cheese
  • Grated Cheddar Cheese
  • 3 Ham Rounds
  • 2 Pieces of Toast

It is not a difficult meal, but it is one that can be really enjoyable. The first thing I did was prep all my food.  I cracked the three eggs into a medium-sized mixing bowl, added in the milk with the eggs, chopped up the baby spinach into fine pieces and grated the cheese.

Spinach Egg Omlette

Spinach Egg Omlette

Spinach Egg Omlette

Now take a medium-sized frying pan and either spray it with Pam or add some oil or butter of some sort. Turn on that element of your stove to a medium heat and let it heat up.  While that is heating up, in the bowl with the eggs and milk put in your spinach and spoonful of cream cheese and mix it all together. The cream cheese may be hard to mix together so it might be a good idea to nuke it in the microwave beforehand.

Spinach Egg Omlette

Now that the pan has heated up properly in your ingredients are mixed together, pour everything in the bowl into the pan, slowly. Try to avoid any splatter. Now let the ingredients slowly cook.  I also sometimes cover that pan to keep the heat in. Put your three ham rounds into another pan and turn it onto a medium-high heat. My ham rounds were previously cooked so what I was doing was just browning the edges

Spinach Egg Omlette

Spinach Egg Omlette

Once your egg mix is firmly cooked on the bottom and you are able to lift one side sprinkle the cheddar cheese over the entire thing. Once you’ve done that flip one side on top of the other. Cover the pan again and let that firm up. Make sure you aren’t overcooking the eggs though, you still want to be slightly liquidy and not dried out.

Spinach Egg Omlette

At this point your ham rounds should be browned on both sides and you can put them on a plate. Your omelette, which I would suggest you flip over and let it simmer for a second on the other side, should also be very close to being done. Once done you can throw it on the plate as well. One thing I did not mention that I did earlier was put two pieces of toast in. You can use whatever kind of toast you like, but I like my white bread.

Spinach Egg Omlette

And there you have the final product. It is a good well-balanced meal, although I probably didn’t need three eggs or three ham rounds. I could’ve cut back on those. What’s your favorite way of making eggs?

Written by kylewith · Categorized: Food · Tagged: cooking, cream cheese, eggs, Food, omelette, spinach

Jul 07 2011

Perogies Bacon and Banana Peppers

Time for another easy mean by KyleWith. Yes two blog posts in a row are about lame food you to can cook if you have any common sense.

First, buy frozen perogies from grocery store. They don’t have to be fancy, but you could find something higher quality. Throw those perogies in a big pot or pan with water and turn the stove on.
Perogies and Topping 3
The idea with boiling the water is to thaw and cook the perogies. While those are boiling away it is time to pull out what you want the “topping” to be. For me it was Bacon, Red Onion and Banana Peppers. Cut all this up and throw it in a pan.
Perogies and Topping 6
No need for oil in this pan because as the bacon cooks with the veg the grease from the bacon with prevent it from burning. Keep this on low to med on the stove. Now back to the perogies.

Perogies and Topping 2

Once the water in the pan with the perogies it is a good indicator that they are most likely cooked. Now you’ll want to drain all the water out of this pan. I personally put the perogies in another pan and add a little oil. Again this way that wont burn or stick to the pan as they fry.

Perogies and Topping 4

As your perogies are frying, check on you bacon and veg. The onions should be soft and bacon no longer raw. Pretty straight forward. This meal should be hard to screw up.

Perogies and Topping 5

When you feel – yeah I’m giving you the responsibility to figure this out on your own – your food is ready pull it off the stove. Put it all on a plate and add some sour cream if that is how you roll.

Perogies and Topping 1

Yeah, it was good. My only regret was putting so many Banana Pepper in to this meal. Its taste seemed to take over and heated up the whole meal. How do you have your perogies?

Written by kylewith · Categorized: Food · Tagged: banana peppers, Food, onion, perogies

  • « Previous Page
  • 1
  • …
  • 4
  • 5
  • 6
  • 7
  • 8
  • Next Page »

Copyright © 2026 · Altitude Pro Theme on Genesis Framework · WordPress · Log in