Kyle Thomas

The Website of Kyle Thomas (KyleWith)

  • Blog
  • With Media
  • Yellowknife Online
  • Bush Order Provisions Ltd.

Sep 29 2011

The Lights of Charlie Lake at Night

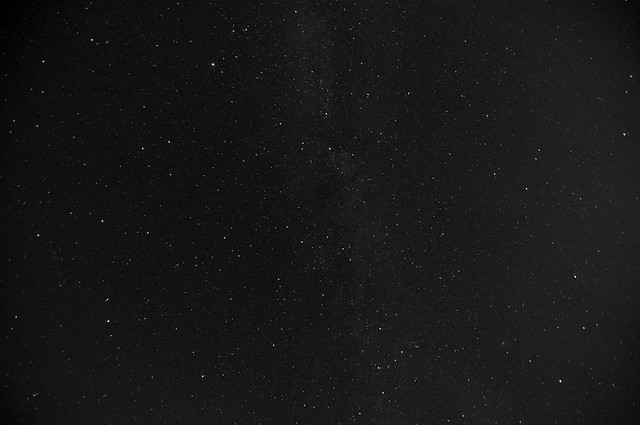
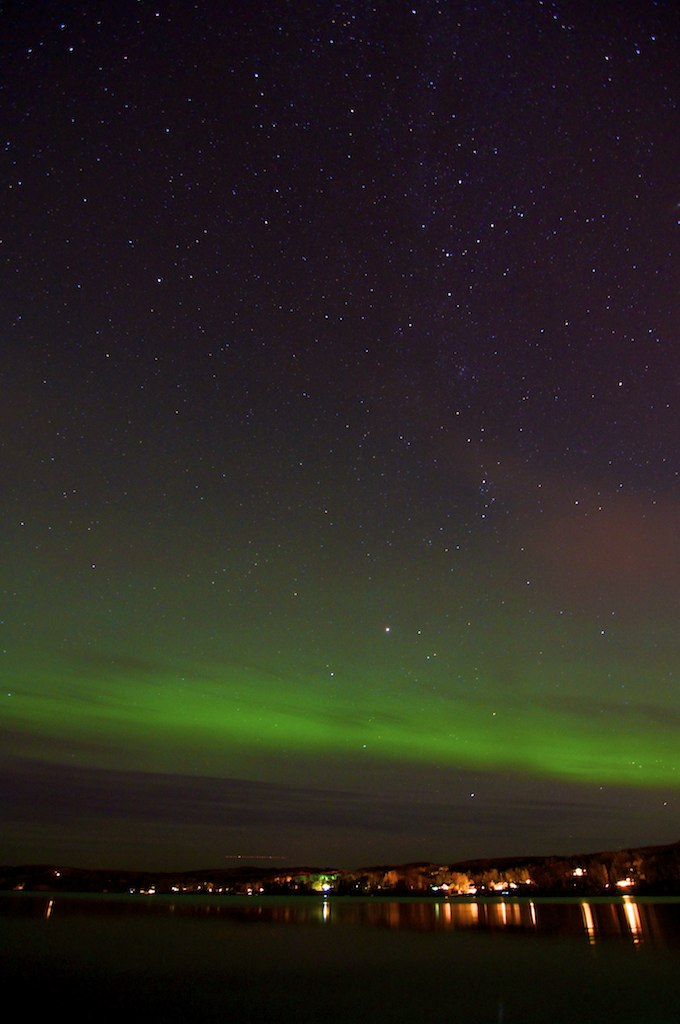
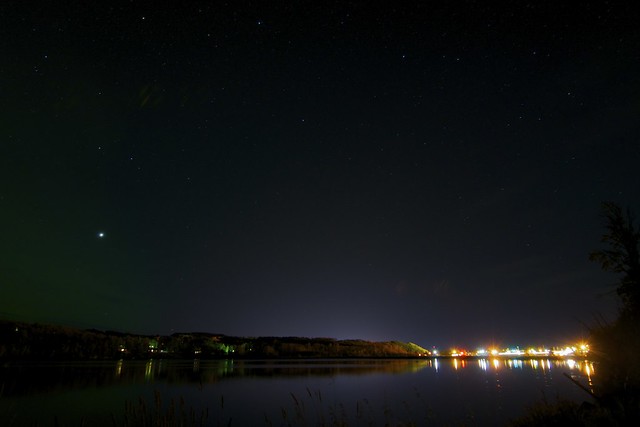
An adventure is search of aurora proved unsuccessful in aurora still provided some mediocre shots. As I sat at one of the boat launches of Charlie Lake, just outside fo Fort St. John I got to see the lights of the little community and many starts.

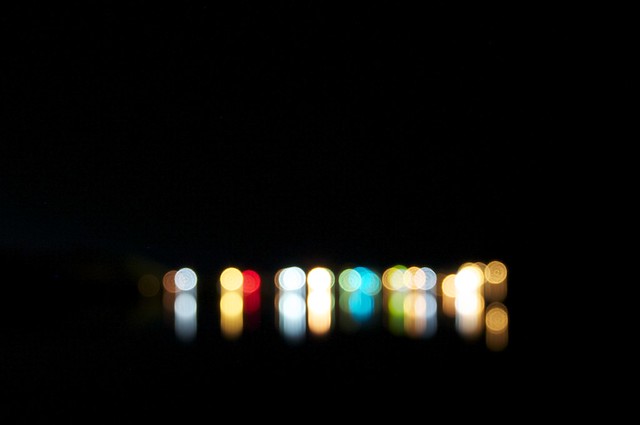
I’m still working on my photography of the stars, but this attempt was a little better and the first I think I am sharing. My favourite out of these shots are the landscape shot of the lights of Charlie Lake lighting up the surrounding area and the opps shot of the very blurry lights.

Chase Jarvis once said something along the lines of “it takes 1000 good shots before a photographer discovers their style.” I think I only have 998 to go.

Pokka Dot Sky

Green Streak

Blurry Charlie

Light Up

What do you think?

Written by kylewith · Categorized: PhotoBlog · Tagged: charlie lake, night photography, sky, skyline

Sep 28 2011

Dawson Creek Photo Walk coming soon!

Photo Walk Dawson Creek this Saturday, October 1, 1pm – 4pm. Yes I suppose I am really waiting until the last-minute to promote this, but that is how I roll. Or that is how my memory rolls.

What is a Photo Walk you ask? Well it is when a group of people come together from all skill levels of photography to share the hobby. They go along a pre-set route and talk, learn, teach and take photos. Afterward can all gather and share the photos they took.

This photo walk coming up in Dawson Creek, BC will be apart of the fourth annual World Wide Photo Walk. There will be at least 1000 other photo walks happening on the same day across the globe. The official Dawson Creek photo walk page can be found on the site as well.

I’m personally really excited to go on the walk because I enjoy sharing a hobby with other people and hearing why they love it. It is also a good opportunity to share what I know and hopefully pick up some new tricks

Dawson Creek Photowalk

I hope everyone that is interested in Photography at all comes out to at least meet other. Everyone should also go to the Facebook Event Page and RSVP so we have an idea of the numbers coming. See you there at the Dawson Creek Art Gallery at 1pm!

Written by kylewith · Categorized: PhotoBlog · Tagged: Dawson Creek, photography, scott kelby, worldwide photo walk

Sep 27 2011

Pop Goes the Daisy by Alexander Legaree

Pop Goes the Daisy (2011) by coalphotography
Pop Goes the Daisy (2011), a photo by coalphotography on Flickr.

One could make a joke about the title, but I wont. I love this shot.

Alexander mentioned he would be doing a shoot with the fabulous Tiffany Ayalik when I had him on the podcast and he wasn’t kidding.

This shoot is amazing, taken in the lobby of the Legislative Assembly of the NWT, which has a nice high ceiling and open spaces. Lighting was definitely used to light up Tiffany, but I really like what appears to be back lighting. It adds real depth to the image.

Via Flickr:
In a planned creative shoot with the ever talented Tiffany Ayalik, we explored the duality of the human persona. One side sugary sweet and the other; well, let’s just say that it is less than desirable. I think that this shot covers both!

Written by kylewith · Categorized: PhotoBlog

Sep 27 2011

Manual Photography Cheat Sheet

I may get in trouble for posting this, as I had to screencap it so I could display it here in this post, but I will let you know right away that you should buy it here.

For those who are still a little weary about switching away from that Auto mode this is a good “cheat sheet” for you. This is also good for the amateur photographer too.

This sheet covers the four main aspects of taking a photo, Exposure, Aperture, Shutter Speed and ISO. With nice little graphics it explains what each does and what is happening what you have them set at different points.

Photography Cheat Sheet

If you like this sheet I would suggest buying it rather than using this image. No, I don’t get a commision, I just don’t want to get a take down notice.

Written by kylewith · Categorized: PhotoBlog · Tagged: aperture, cheat sheet, exposure, iso, photography, shutter speed

Sep 26 2011

DIY Photography Lightbox

This was a spur of the moment idea to make a lightbox. A lightbox in photography land is a box that allows light in to illuminate the object that you are shooting. For me I am thinking this might be something to use for my food photography. This post will explain how I built it and how the trail went.

What you will need:

  • A box (medium in size)
  • 4 sheets of tracing paper or wax paper
  • Packing take
  • Scotch tape
  • Exacto knife
The first thing you will want to do once you round-up all you supplies and tools is trace out the size of the tracing paper on the sides of the box you will be cutting. You will want to cut holes in three side and the bottom of the box.
Once you have traced the size of the paper on the box draw a smaller square on all sides of the box you will be cutting that is roughly 1″ smaller that the tracing paper square. You will want the tracing paper to overlap the holes in the box so you can tape them down.
The next thing I did was tape the hell out of the box. You will be cutting four holes in the box making it very unstable therefore you need to make the structure as strong as possible. Using the packing tape I covered this thing, every corner, every side and made sure the bottom would stay together once cut.
Of course once you have done this you will want to start cutting the box on all the sides you want to create holes, along the smaller square you have made. I recommend going lightly as you don’t want to risk the structure of the box.
When you finish up cutting the holes you should check to see if any areas of the box need to be re-taped. The bottom of the box may need some tape to keep together the two layers of the bottom. Then start on any side and tack down the tracing paper over the holes. I used the scotch tape to tack each corner and then will use the packing tape once satisfied. Make sure you keep the tracing paper as tight as possible to avoid any wrinkles.
The final thing you’ll want to add is a large white piece of paper that falls from the top of the box to the bottom front creating a white background. I used poster paper, but need something bigger.
As you can see from one fo the photos above I used three lights two on the side and one on the top. This was tricky as the one on the top was to powerful and didn’t display the light properly. Below as some of the trials I took using my very first Shannon Butler Mug.
The one above was actually also shot with my flash and the three lights. As you can see the flash over powers all the lights and creates the harsh shadow.
This shot above was with only the three lights. As two of the lights are incandescent it  creates the yellowy look, which I need to learn to correct with White Balance or get fluorescent lights.
The last two shots were shot with only the fluorescent shining down through the top hole in the box. The first one (of the two) is a little harsh and was still on Auto White Balance. The second one (last photo) was with some White Balance correcting which really helped.

Things I need to improve on

I need to get three of the same lamps for this box, fluorescent one. I also need to read up on some more lighting theory and how to properly shoot using a lightbox. Understanding White Balance and my flash are also things to do.

Conclusion

Building the box is easy and can be done with household items we all probably have. The lighting and understanding that is the tricky part. If you try this DIY Photography Lightbox I’d love if you shared a link below to your build to see how it turned out.

Written by kylewith · Categorized: PhotoBlog · Tagged: diy, lightbox, lighting, photography, photos, project

  • « Previous Page
  • 1
  • …
  • 40
  • 41
  • 42
  • 43
  • 44
  • …
  • 104
  • Next Page »

Copyright © 2026 · Altitude Pro Theme on Genesis Framework · WordPress · Log in